October 25, 2026
How to Layer Living Room Lighting for a Cozy Glow
A cozy living room doesn’t rely on one ceiling light. To understand how to layer lighting in a living room, combine ambient light for general illumination, task light for reading or other activities, and accent light for artwork and architectural details. Warm ambient bulbs around 2700K to 3000K help set a relaxed tone.
If your living room feels flat, harsh, or hard to use after dark, the answer is usually a more intentional mix of light, not simply a brighter bulb. Build the layers around how you use the room: start with balanced general light, add focused illumination where you read, and use softer accents to highlight favorite details. This guide explains how to layer lighting in a living room, choose warm bulbs, and arrange lights for a comfortable glow that can shift with the evening.
Key Takeaways
- Start with what happens in the room, then place focused light where reading, conversation, or other activities need it.
- Use indirect light around screens to soften the contrast without creating reflections or glare.
- Choose dimmable lights and separate controls so the room can shift from everyday use to a quieter evening setting.
- Use wall lights or adjustable fixtures to draw attention to artwork, shelves, and architectural details.
- Vary light sources and heights to create a more balanced glow than one overhead fixture can provide.
1. Ambient, task, and accent lighting
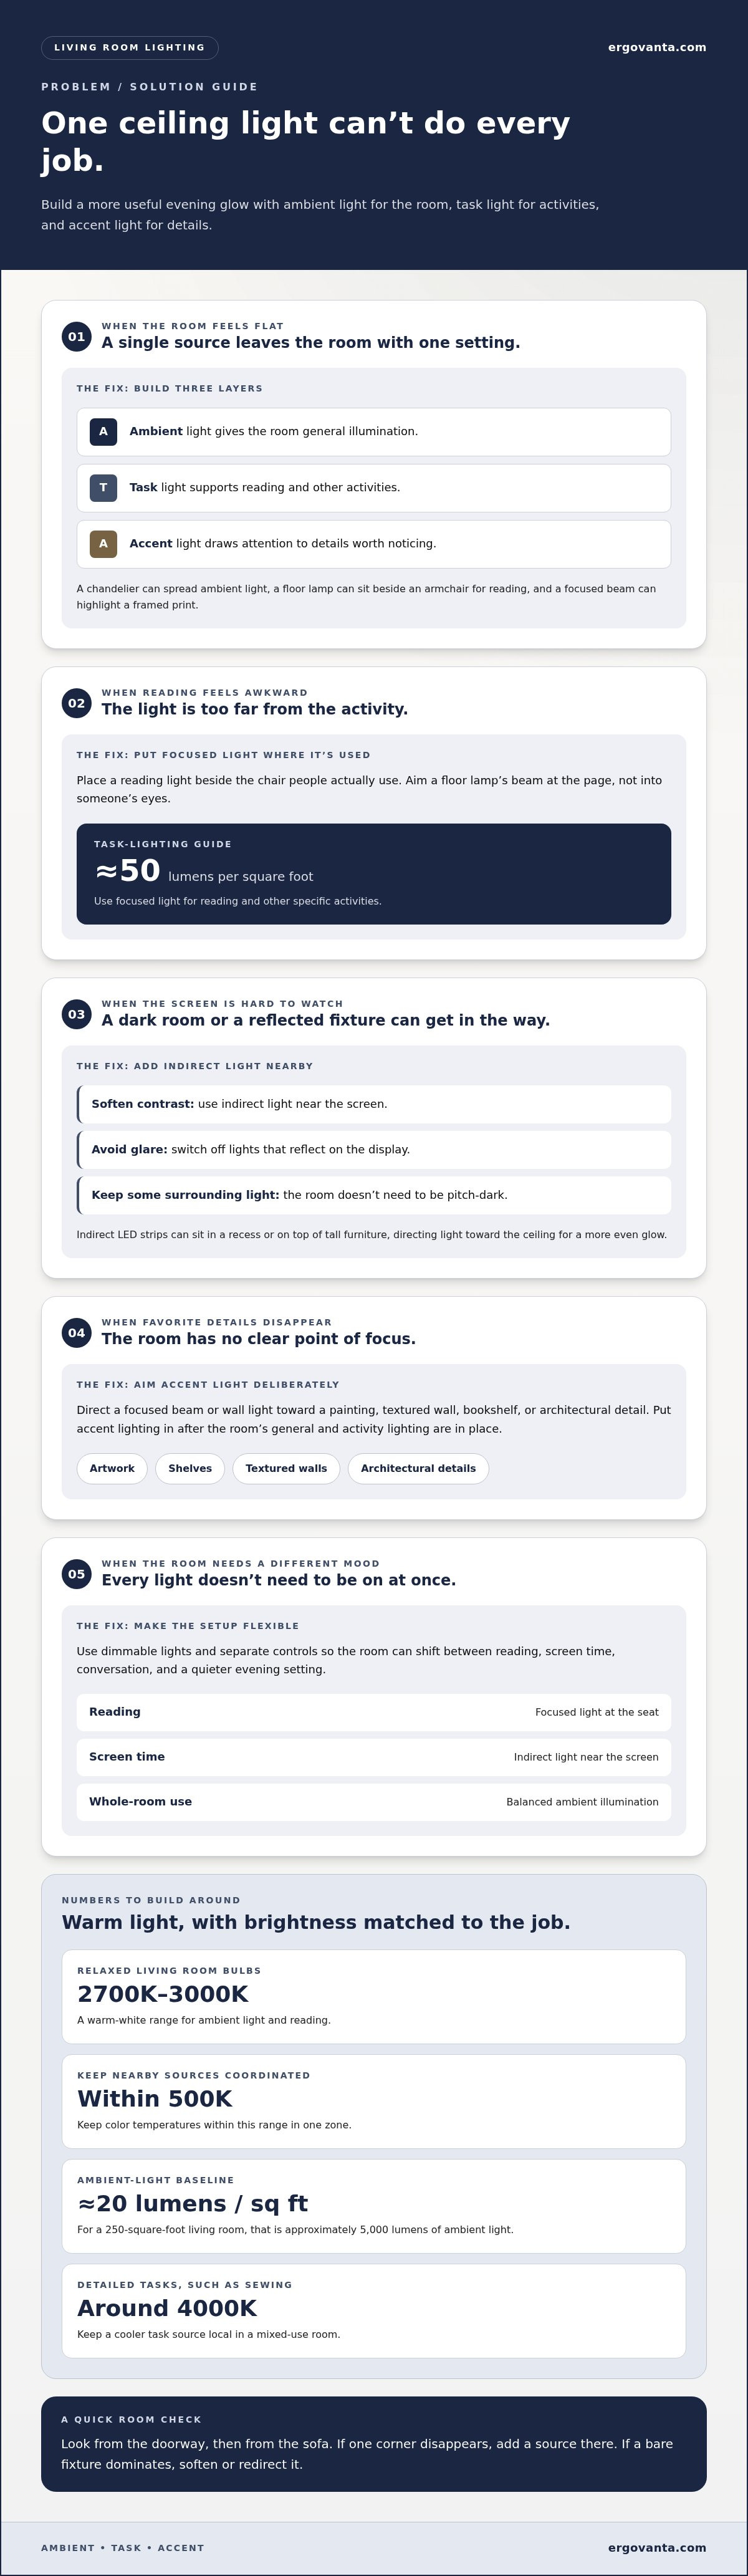
Use three layers: ambient light for general illumination, task light for specific activities, and accent light for details worth noticing. A chandelier can spread ambient light, a floor lamp beside an armchair can support reading, and a focused beam can highlight a framed print. Together, these sources give the living room more than one setting.
You can layer light without ceiling fixtures by combining floor lamps, wall lights, and indirect LED strips. For example, place a floor lamp near the sofa for a general glow, add a wall light beside a reading chair, then use a strip above a tall bookcase to wash the wall with light. This combination can provide ambient coverage and focused pools without relying on an overhead fixture.
Start with ambient lighting, the foundation that helps people move through the room and see its overall layout. Recessed lights, wall-mounted lights, chandeliers, and floor lamps can all serve this role; one central ceiling fixture isn’t the only option. A practical way to layer lighting in a living room is to plan its ambient sources around the room’s shape, seating, and connection to nearby spaces, such as an open-plan kitchen. A general baseline is about 20 lumens per square foot, so a 250-square-foot living room would need approximately 5,000 lumens of ambient light.
Next, mark the activities that need task lighting. Put a reading light beside the chair people actually use, rather than across the room where it can admire the chair from a distance. Task-lighting zones can use approximately 50 lumens per square foot. For television viewing or computer use, add indirect light near the screen; avoid a room that is completely dark or a fixture that reflects across the display. Accent lighting comes last. Aim it at a painting, textured wall, bookshelf, or architectural detail so the eye has a clear point of focus.
Indirect LED strips can add ambient light when placed in ceiling or wall recesses, false-ceiling details, or on top of tall furniture. Light directed toward the ceiling reflects back into the room, creating a more even glow than a visible beam aimed straight at the seating. For a coordinated setup, compare different lighting options by their role and placement, then decide which sources need separate controls. That way, the room can shift from reading to screen time without every light being switched on at once.
2. What is layering light - and why is it important?
Layering light means arranging several sources so the room can serve different purposes without depending on one bright overhead fixture. A living room used for reading, conversation, and television needs light in different places. Think of the setup as flexible: daylight handles part of the daytime need, softer lamps shape the evening, and focused light supports specific activities. The aim is useful balance, not switching on every fixture at once.
Start by noting where natural light enters and what blocks it. A large window may brighten the sofa during the day, while a nearby tree or deep porch keeps another corner dim. Sheer curtains diffuse daylight; heavier shades can reduce it when glare becomes distracting. Place a reading seat where daylight reaches it comfortably, then plan a lamp nearby for cloudy afternoons and evenings. In an open-plan room, notice how light changes near the kitchen, where task lighting may be brighter than in the sitting area.
Next, balance overhead illumination with softer sources at different heights. A ceiling fixture can brighten the room for cleaning or finding something dropped under the sofa. Left on alone during a quiet evening, that same light can make the space feel flat. Add a table lamp near the sofa and a floor lamp beside a chair. These lower pools create a more intimate setting for conversation or reading, while wall lights can brighten a darker stretch without taking up table space.
Adjust brightness to match the activity rather than treating one setting as the room’s permanent mood. For a board game or a meal with friends, use enough broad light to see faces and the table clearly. For a film, switch off lights that reflect on the screen, but keep some indirect illumination nearby so the rest of the room isn’t pitch-dark. For reading, direct a focused source onto the page instead of making the whole room equally bright. Separate controls make these changes easier.
A useful test is to view the room from the doorway, then from the sofa. If one corner disappears, add a source there; if a bare fixture dominates, soften or redirect it. Keep light color temperature consistent across nearby sources so a warm lamp doesn’t clash with a visibly cooler ceiling light. A layered plan should make it easy to highlight a feature, settle into a quieter scene, or brighten the whole room when needed. If you’re mapping out a lighting plan, you can share your lighting question.
3. Choosing warm-white bulbs and appropriate brightness
For a relaxed living room, choose warm-white bulbs around 2700K to 3000K. A temperature of 2200K or higher can create a cozy atmosphere, while reading and general activities suit the warmer 2700K to 3000K range. Keep color temperatures within 500K in one zone, so nearby sources feel like part of the same lighting design rather than competing settings.
Match the temperature to the activity. A floor lamp beside a chair can use warm light for reading, while a focused work area for detailed tasks such as sewing may benefit from around 4000K. In a mixed-use room, keep that cooler source local instead of using it throughout the space. Accent and ambient bulbs should have similar color temperatures when they illuminate the same wall or seating area.
Choose fixtures by the job they need to do. A chandelier or flush mount can provide broad ambient illumination; a floor or table lamp can focus light near a seat; and a wall sconce can add a localized glow or highlight a feature. For reading beside a sofa, position a floor lamp so its beam reaches the page without shining directly into someone’s eyes. Near a screen, indirect light adds visibility without reflecting on the display.
Brightness depends on the fixture and bulb count, so compare lumens rather than relying on watts alone. A traditional 60-watt incandescent bulb produces about 800 lumens. For recessed lights, a useful guide is 3000K and 450-800 lumens per light, with dimmable bulbs. Exposed bulbs often work better at 400-500 lumens maximum, while shaded lamps and chandeliers can use 450-800 lumens depending on their design and number of bulbs. Dark-shade lamps may suit 3000K bulbs; white-shade lamps can use 2700K.
For a large room, a flush mount at 3000K and 800 lumens can be a starting point, with total output depending on its bulb count. To estimate chandelier diameter, add the room’s length and width in feet, then use that total in inches. A 12-by-14-foot room, for example, gives a starting diameter of 26 inches. Treat it as a sizing guide, then consider ceiling height, furniture scale, and whether the fixture sits over a table.
Choose dimmable bulbs and fixtures to shift from bright conversation light to a quieter evening setting. Dimming changes intensity without requiring a new lighting arrangement, while a consistent color temperature keeps the room’s atmosphere steady as brightness changes. For example, lower the chandelier and keep a reading lamp bright enough for the page.
4. Accent lighting for artwork and architectural details
Accent lighting gives a chosen feature visual emphasis. In a living room, that could be a painting above the sofa, family photographs on a gallery wall, or the texture of a brick fireplace. Choose the focal point first, then position the light to draw attention to it without competing with the room’s general illumination. A useful guide is for accent lights to be around three times stronger than ambient lights. This creates contrast, but the beam should still feel connected to the rest of the room.
For one framed artwork, place a picture light above the frame or use an adjustable recessed fixture aimed toward it. A gallery light should measure about 1/2 to 2/3 the length of the artwork or built-in it illuminates. That proportion helps spread the beam across the feature rather than concentrating it in one small patch. If the wall holds several pieces, light the grouping as a whole or use a fixture that can be adjusted toward individual frames.
Architectural details also reward careful placement. Aim a narrow beam across a textured wall to reveal its surface, or direct light toward the interior of a bookcase to make its contents easier to see. For shelves, diffuse frontal lighting gives an even view; 45-degree accent lighting creates more defined highlights, while backlighting adds separation from the wall. Keep the source out of the main sightline from the sofa. Otherwise, the fixture may become the focal point, which is not always the plan.
Use paired wall sconces to frame a fireplace or a large piece of artwork. Place one on either side of the feature, then check the composition from the main seating area. Living-room sconces are commonly installed 5-6 feet above the finished floor. A floor lamp can instead highlight a plant or sculptural object near a reading chair, while keeping the beam directed toward the object rather than across the reader’s page. For artwork beside a dining area, view the light from both the sofa and dining seats before settling on its angle.
Test each accent source after dusk, when daylight no longer changes its effect. Switch on the ambient layer, then add one accent at a time. This makes it easier to see whether the artwork stands out or the wall simply looks brighter. Match the accent bulb’s color temperature to nearby ambient lighting so the feature doesn’t appear oddly cool or yellow. A dimmer can help balance the contrast. The goal is a clear highlight, not a spotlight that turns a quiet living room into an opening night.
5. Layering lighting in a living room
Build your plan around how people use the room, not around a fixture count. Start with the main seating area, then mark where reading, conversation, screen time, or dining happens. A living room with a sofa, reading chair, and dining table may need separate pools of light for each zone. The arrangement should work as one room while letting each area suit its activity.
Choose a broad source for general illumination, such as a ceiling fixture, then add lower lights around the room. A pendant can define a dining area, while a table lamp beside the sofa gives the seating zone a softer edge. Floor lamps near an armchair support reading, and sconces can frame a fireplace or artwork. Varying fixture heights helps light reach people from different angles, rather than leaving every face under the same overhead glare.
Check the layout in sequence: switch on the broad source, add lights where activities happen, then turn on accents aimed at architectural features or objects. Test the arrangement from the sofa and the room entrance. If the pendant dominates every view, dim it or let nearby lamps carry more of the evening atmosphere. If a corner remains dark, move a lamp before adding another fixture. The room is easier to adjust when each source has a clear role.
Match controls to those roles. Separate switches or dimmers for overhead, task, and accent sources let you change the room without lighting every zone at once. For example, use brighter general light for tidying, then dim it while keeping the reading lamp on. In an open-plan living room, separate controls also help distinguish the sitting area from the kitchen or dining zone. Bedrooms have different activity zones, but the same principle applies: give each light a job.
For electrical safety and building rules, follow applicable local codes and the fixture maker’s instructions. Hardwired changes, such as adding a pendant or wall sconce, involve different work from plugging in a table lamp; use a qualified electrician for installation that requires electrical work. The cost of layered lighting depends on the fixtures, existing wiring and controls, and whether new wiring or switch locations are needed. A plan with plug-in lamps differs from one adding several hardwired sources, so the scope of work is the key cost factor.
Sketch the room, mark each activity, and note which light serves it before choosing more fixtures. That simple map can reveal whether you need a pendant, another lamp, or better control of existing lights. Get help planning your living room lighting.
Ergovanta: desk lamps
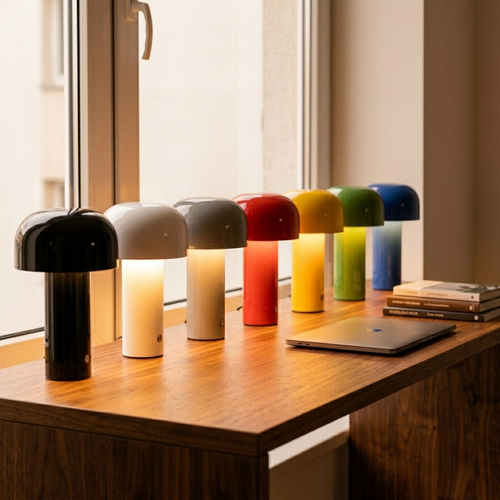
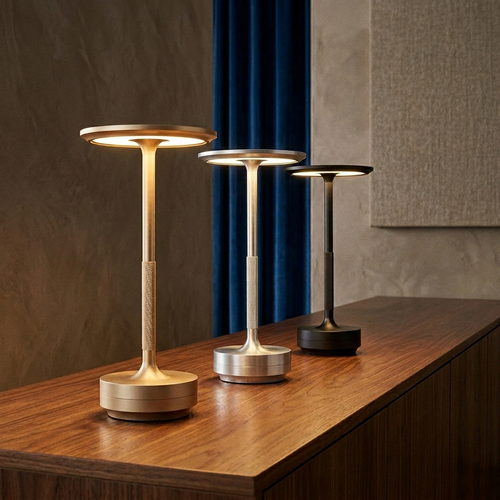
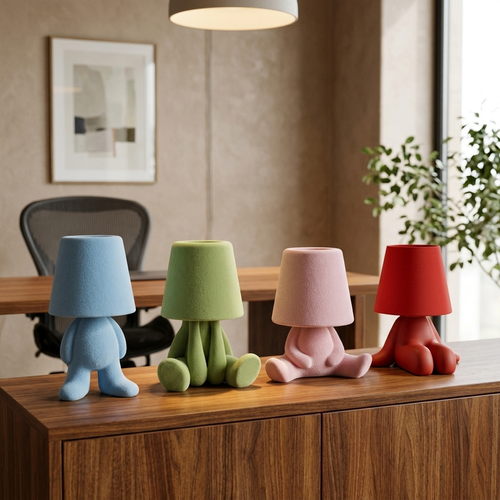
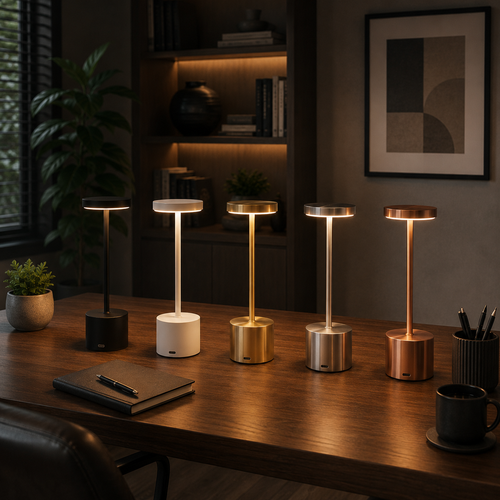
Ergovanta offers desk lamps, floor lamps, wall lights, and ceiling lights to help you build a living room lighting plan around how you use the space. Add a desk lamp to a side table for focused reading, or place a floor lamp near a chair to create a separate pool of light. Wall lights can brighten a feature wall, while ceiling lights provide broader illumination.
Choose a light that fills a real gap in your setup. If the room already has enough general light, a smaller task or accent source may be more useful. If an area feels dim, consider a floor or wall light rather than relying on one overhead fixture for everything.
Make the room yours, one considered choice at a time
Your lighting plan doesn’t need to arrive fully formed. Begin with the part of the room that feels least suited to how you use it, then make one deliberate change. Live with that adjustment through an ordinary evening before deciding what comes next. Your space will tell you more than a floor plan can.
As you decide how to layer lighting in a living room, leave room for personal preference. A book nook, a favorite piece of art, or a corner that becomes a quiet retreat can guide your choices. The aim isn’t to make every room look alike. It’s to make yours work for the moments that happen there.
Choose your next light with purpose, and let the room take shape at its own pace.
Small, thoughtful changes add up. Build a room you’ll be glad to come back to.
Frequently Asked Questions
What is layering light - and why is it important?
Layered lighting lets the room respond to changing needs instead of treating every evening the same. The practical benefit is choice: you can keep a calm background while switching on only what the moment calls for. Try setting up separate controls for the lights you use most often. That simple distinction can make the room easier to adapt without rearranging furniture or changing bulbs.
How Many Lumens Do I Need for Each Layer?
There isn’t one fixed lumen amount for every fixture in a layer. Use the bulb or fixture’s lumen rating to compare light output, then consider how the shade, direction, and distance from its target affect the result. A shaded lamp aimed toward a wall won’t feel like a bare bulb aimed at a book. Choose output for the actual use, then adjust the arrangement if the result feels too strong or too faint.
What are the three layers of lighting in a living room?
The three layers are ambient, task, and accent lighting. Think of them as different jobs, not three mandatory fixture types. One source might contribute to general visibility and also draw attention to a wall, while a reading light has a more focused purpose. Naming each job helps you spot what’s missing and avoid buying a fixture just because an empty corner seems to call for one.
How do you plan ambient, task, and accent lighting in a living room?
Sketch the room and mark furniture that is unlikely to move, such as a sofa, media console, or bookcase. Note outlets and existing switches, then map possible lamp locations around those fixed points. This helps reveal awkward cord routes and places where furniture might block a light. Keep the sketch flexible: a temporary lamp placement can show whether the layout works before you commit to a permanent change.
How many lumens do you need for living room lighting?
Use the room’s size and the purpose of each area to estimate the total output, then compare that estimate with the combined lumen ratings of the bulbs or fixtures you plan to use. Don’t assume one high-output source will feel equivalent to several distributed sources. Furnishings can absorb or block light, and daylight changes the room’s needs. A dimmer can make a brighter setup more adaptable.
How should living room lights be spaced and positioned?
Position each source so furniture, people, and open doors don’t block its useful light. For a side-table lamp, check that the shade isn’t hidden behind the sofa; for a wall fixture, consider the view from nearby seats. Avoid aiming a beam toward reflective glass or a television. Before settling on a position, move a portable light around and observe how it changes the room’s shadows.
Disclaimer
Ergovanta publishes these guides to help people set up better workspaces. Product recommendations reflect what we sell. Specifications, prices and availability are accurate at the time of writing and may change. Nothing here is medical, ergonomic or professional advice; if you have a specific health concern about your workstation, speak to a qualified professional.
From the catalog