October 29, 2026
Modern Home Bar Setup Ideas for Stylish Entertaining
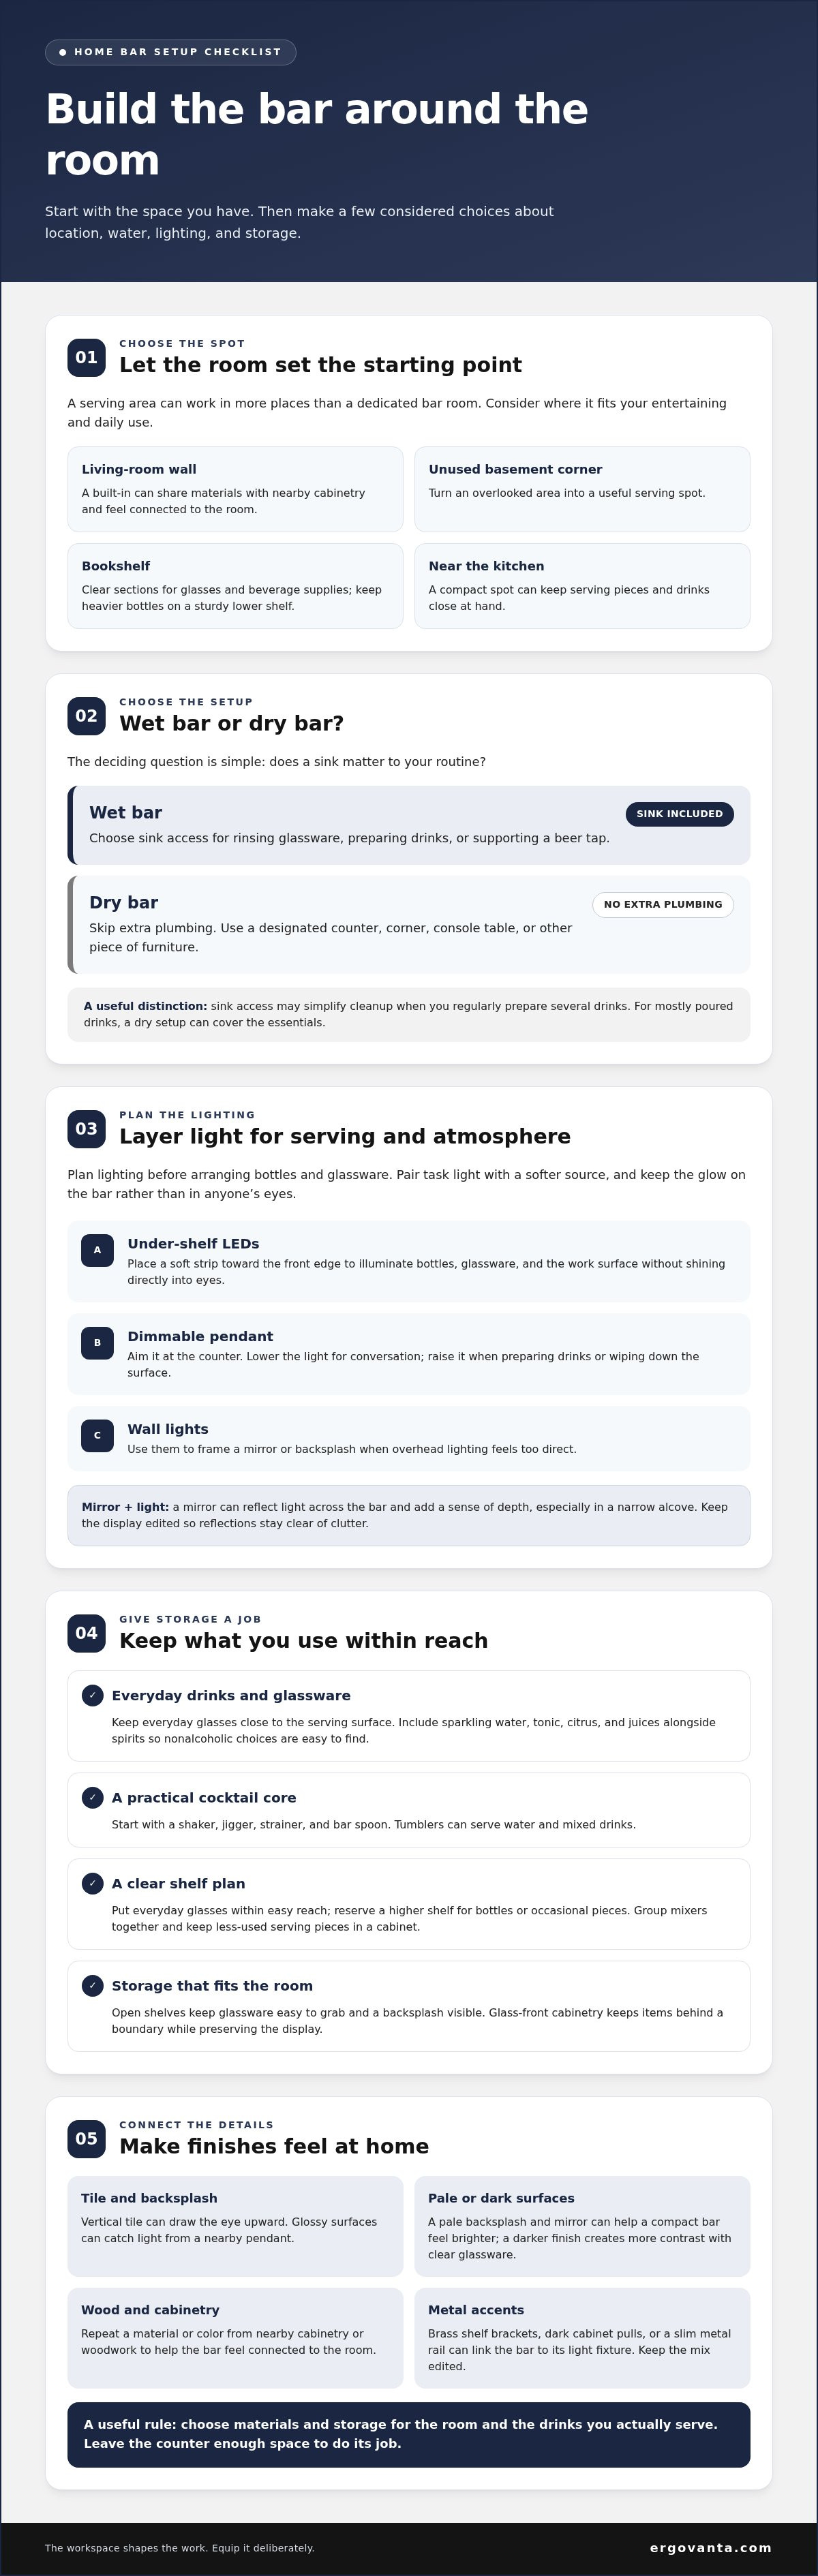
A home bar works best when it fits the room, not the other way around. The strongest modern home bar setup ideas combine layered lighting and reflective finishes with storage that keeps bottles, glassware, and nonalcoholic drinks within easy reach. Choose a wet bar if a sink suits your plans; a dry bar can turn a designated corner or console table into a serving area without extra plumbing.
It’s easy to focus on the bar itself and overlook the location. A living-room wall, an unused basement corner, a bookshelf, or a compact spot near the kitchen can each become a useful serving area when the setup suits the way you entertain. Start with the space you have, then decide what it needs: a cart or built-in storage, open or concealed shelves, task lighting or a softer glow, and finishes that feel at home in the room. This guide covers the trends and practical choices that help bring those decisions together, from lighting and materials to drink storage, wet versus dry setups, and the essentials that make a home bar easy to use.
Key Takeaways
- Use layered, dimmable lighting and reflective surfaces to shape the atmosphere and help a compact bar feel more open.
- Plan storage around the drinks and glassware you actually use, including space for nonalcoholic options.
- Choose a wet bar for sink access or a dry bar when a furniture-based setup better suits your space.
- Let tile, stone, wood, and metal accents connect the bar to the room instead of making it feel like an afterthought.
- Consider overlooked spots such as a bookshelf, living-room wall, or basement corner, then equip the location for serving and storage.
1. Integrated lighting and mirrored surfaces
Plan the lighting before arranging bottles, glassware, and the counter. A strip of soft LED lighting beneath open shelves can highlight a backsplash and make labels easier to see. Place the strip toward the front edge, then check that its glow reaches the work surface without shining directly into anyone’s eyes. A mirror behind the shelves can reflect the light across the bar and create a sense of depth. This pairing suits a narrow alcove, where every visible surface affects how open the setup feels. Keep reflections clear of clutter by limiting the display to a few useful beverage tools.
Use two layers of light for different tasks. Under-shelf LEDs help illuminate bottles and glassware, while a dimmable pendant above the counter can cast a softer pool of light for serving. Lower the pendant during conversation, then raise it when preparing drinks or wiping down the surface. If the bar sits beside a dining table, aim the pendant at the counter rather than across the room. This keeps the serving area distinct without turning the whole space into a brightly lit workspace. Wall lights can also frame a mirror or backsplash when overhead lighting feels too direct.
Let the backsplash shape the lighting plan. Vertical tile can draw the eye upward and reflect light behind open shelves, while a glossy surface can catch light from a nearby pendant. Choose the tile first, then compare its appearance under focused and dimmed lighting. A pale backsplash and mirror can help a compact bar feel brighter; a darker finish creates more contrast against clear glassware. Hardware matters, too. Brass shelf brackets, dark cabinet pulls, or a slim metal rail can become deliberate accents when their finishes connect with the light fixture. Keep the combination edited so no surface has to compete.
Decorative details can add character without taking over the counter. A neon sign can provide a playful focal point, as in a 1920s estate bar. In a smaller setup, choose one sign, framed print, or sculptural object instead of filling every gap. For a concealed bar, place soft LED lighting inside the cabinet so the display appears when its doors open. Test the effect with the doors closed and open, then adjust the light to avoid glare on mirrored glass. The result should make bottles easy to find, leave room for serving, and let the bar shift from practical station to evening setting.
2. Nonalcoholic drinks and versatile storage
Build your drink selection around everyone who might use the bar. Keep sparkling water, tonic, citrus, and juices alongside spirits, so guests can choose a nonalcoholic drink without searching the kitchen. For a basic cocktail setup, start with a shaker, a jigger, a strainer, and a bar spoon. Add versatile glasses, such as tumblers for water and mixed drinks. This practical core supports simple serving and leaves room for personal favorites. Glassware accessories can keep frequently used pieces together and ready for entertaining.
Give each shelf a clear purpose. Put everyday glasses within easy reach, then reserve a higher shelf for bottles or occasional pieces. Open brass shelving keeps the backsplash visible between bottles and glassware, while floating shelves display items without taking up counter space. For example, place nonalcoholic mixers on one shelf and glasses below. Grouping ingredients makes restocking easier and prevents the bar from becoming a holding area for unrelated objects.
Use vertical space when floor area is tight. A bookshelf-style bar can turn an existing bookcase into functional storage: clear one section for glasses, another for beverage supplies, and keep heavier bottles on a sturdy lower shelf. A cabinet at the base can hide less attractive essentials, such as napkins and spare mixers. If the bar shares a living room with books or decor, repeat a material or color from nearby cabinetry. That small connection helps the setup feel intentional rather than temporary.
Choose between open shelves and glass-front cabinetry based on how you use the room. Open storage makes glassware easy to grab and keeps a decorative backsplash visible. Glass-front doors keep items behind a boundary while preserving the display, which can suit a room where the bar is always in view. For a single-wall setup, a decorative tile backsplash and built-in wine cooler can make the area a complete beverage station. Keep frequently used drinks close to the serving surface.
Make storage flexible enough for changing plans. Leave one shelf for sparkling water or seasonal mixers, and keep a clear section for bottles brought out during a gathering. Store less-used serving pieces together in a cabinet, rather than spreading them across the counter. If you’re planning a setup around specific glassware or storage needs, talk through your bar setup and choose details that earn their place.
3. Wet bars versus dry bars
Choose the setup by deciding whether a sink matters to your routine. A wet bar can include a sink for rinsing glassware, preparing drinks, or supporting a beer tap. A dry bar skips extra plumbing and uses a designated counter or piece of furniture, with seating and beverage supplies nearby. If you regularly prepare several drinks at home, sink access may simplify cleanup. If you mostly serve poured drinks, a dry setup can cover the essentials without changing the room’s layout.
Location can make the choice clearer. A built-in bar can sit within a living room and share materials with nearby cabinetry for a cohesive look. It can also provide overflow kitchen storage for serving pieces or drinks that would otherwise occupy kitchen cupboards. For example, match the cabinet fronts to the room’s existing woodwork, then use the counter as a serving surface. The bar feels connected to the space instead of looking like a separate station.
In a compact home, look for a niche, closet, or recessed wall before giving up floor space. A dry bar can fit inside a closet with a counter-height surface and closed storage beneath. Leave the doors open while entertaining, then close them to return the living room to its usual arrangement. If the niche is shallow, keep the setup simple: a narrow counter, a few essential supplies, and a clear area for pouring. Make use of the existing footprint without crowding the walkway.
A small built-in bar can use an arch to define its place without taking up much room. Repeat the arch’s curve in a mirror, cabinet opening, or backsplash pattern, then keep surrounding textures restrained. In a kitchen, a compact bar beside the main cabinetry can serve as a dedicated beverage corner. In a living room, a softer material palette helps the bar blend with seating and shelving. These choices make the structure feel intentional while preserving the room’s everyday function.
Personal details give the bar a point of view. Choose a theme based on something you enjoy, such as travel prints, a favorite color, or a particular pattern. Keep it to one or two surfaces, like the back wall and cabinet hardware, so glasses and bottles remain easy to use. A small themed bar can feel distinctive without requiring a full room makeover. Let the displayed objects carry the idea rather than decorating every available surface.
Use this quick test: choose a wet bar when a sink supports regular rinsing and preparation; choose a dry bar when a counter, seating, and stored supplies meet your needs. Then assess the room’s existing kitchen connection, niche, or living-room wall. This order keeps the decision practical before you settle on an arch, pattern, or finish.
4. Luxury finishes and metallic accents
Choose finishes as a group, not as isolated samples. A marble counter, brass hardware, and painted backsplash can create a stylish bar when their tones relate. Start with the largest surface, usually the counter or cabinet fronts. Then select one metal finish and repeat it on pulls, shelf brackets, or a faucet. This gives the eye a clear thread to follow. If marble has strong veining, keep nearby patterns quieter. If the stone is subtle, a patterned backsplash can add detail without crowding the room.
Brass brings warmth alongside cool stone, dark cabinetry, or deep green paint. Use it in a few deliberate places, such as cabinet pulls and a narrow shelf rail. Aged brass looks softer beside cream tile, while polished brass creates brighter contrast against charcoal cabinets. Pair either finish with marble carefully: choose a vein color that connects with the metal or surrounding paint. The aim isn’t to match every surface, but to make each material feel at home in the same room.
The backsplash can carry texture without taking over the bar. Vertical tile adds height and a reflective finish behind open shelves. For a calmer composition, use a simple tile shape with contrasting grout; for more pattern, keep the counter and cabinet fronts restrained. A bar with architectural moldings and a Silestone Le Chic stone top appeared at the 2024 Kips Bay Decorator Show House. Use that combination as a cue to balance a shaped wall detail with a distinct stone surface, rather than layering competing patterns. A narrow grout line can also keep the tile from dominating a compact wall.
Look above the bar, too. A painted ceiling can define a small alcove, while a wood finish can connect the bar to nearby cabinetry. In a room with a patterned backsplash, keep the ceiling simple so the materials don’t compete. With plain tile, a subtle ceiling color can mark the bar as its own zone. Compare the ceiling and backsplash together, because a finish that looks balanced alone can feel different beside bottles, glassware, and shelves. Check samples in daylight and evening light before deciding.
Before choosing materials, gather samples of the counter, tile, cabinet finish, and metal hardware. View them together in the bar’s actual light, then remove a finish if the combination feels busy. This edit works especially well in compact spaces, where every surface stays in view. Keep high-use areas practical: the counter needs room for serving, and shelves should hold bottles securely. A considered mix of brass, marble, and tile gives the bar character without making everyday use an afterthought.
5. Home bar locations and setup essentials
Start with the room’s traffic pattern, not an empty corner. A home bar should serve guests without blocking a kitchen route, doorway, or favorite seat. In a living room, a console against an open wall can hold serving pieces while keeping the main walkway clear. In a basement, an unused corner can become a dedicated drink station. For outdoor entertaining, a wet bar can also fit into an outdoor kitchen. Choose a location that supports the way you host, whether you’re making a cocktail or offering sparkling water.
In the United States, rules for serving alcohol at home depend on the setting and whether alcohol is sold or served publicly. Private hosting and commercial service may involve different requirements, so tailor the setup to its intended use.
There isn’t one ideal home bar counter height or depth for every room. Choose dimensions based on standing or seated service, available clearance, and the space needed for glassware and drink preparation. Test the layout with a tray and glasses before settling on the counter footprint.
Use existing features to make the location work harder. An unused bookshelf can provide vertical storage, with a cabinet below for less attractive supplies. Floating shelves above a narrow counter keep glassware and bottles accessible without taking up floor space. A tile backsplash and dedicated beverage storage can make a single wall feel complete. In a living room, softer materials and colors help the bar sit naturally beside furniture rather than read like a second kitchen.
Match the shape to the room’s social use. An L-shaped bar can create a conversation area oriented toward a television, while a straight counter suits a narrow wall. Keep a clear serving surface beside stored bottles, and place frequently used tools within reach. If guests gather around the bar, leave open counter space for setting down a glass. Arrange seating to support conversation without narrowing the route through the room.
Finish the setup with a short essentials check. Place glassware near the serving area, group cocktail tools together, and reserve a cabinet or shelf for napkins and nonalcoholic drinks. Choose one focal detail, such as patterned tile, artwork, or a bar cart, then keep the rest of the design functional. A custom-feeling arrangement can come from adapting existing furniture, colors, and storage, not from filling every surface. The best location is the one that works on an ordinary evening, not just during a party.
Ergovanta: desk lamps
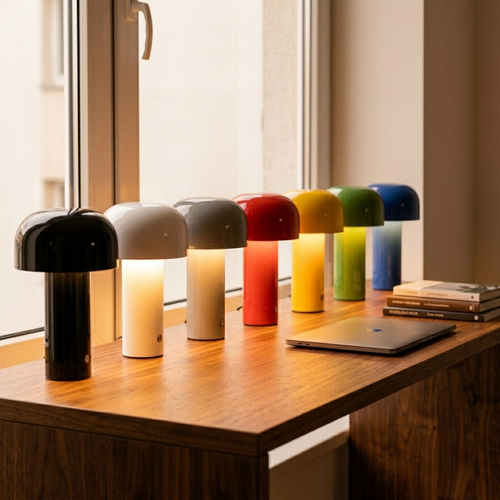
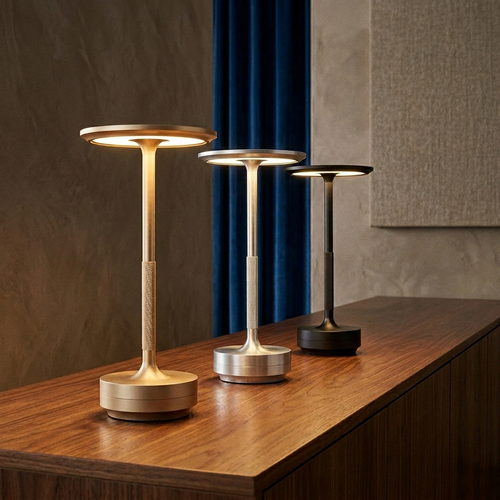
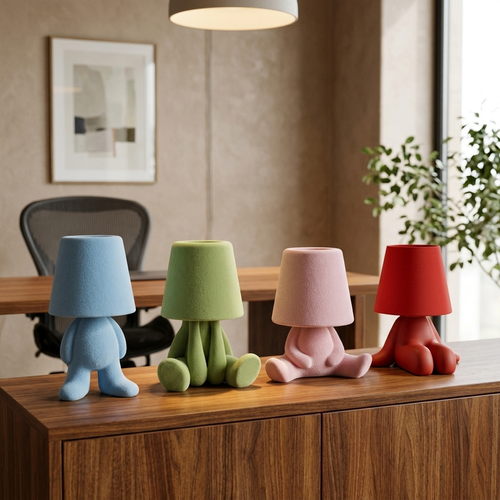
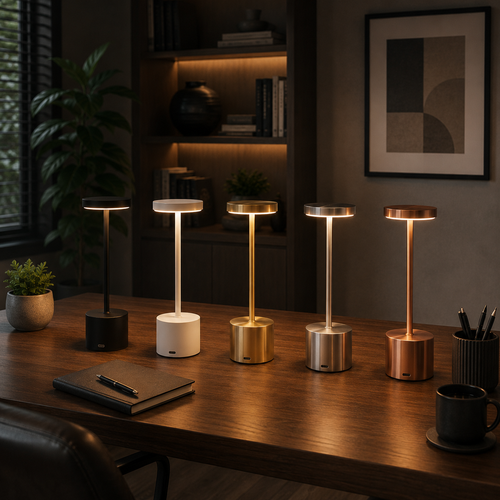
Ergovanta is a useful option when your bar area shares space with a desk or needs a considered lighting plan. A desk lamp can add focused light nearby, while a floor lamp can define the surrounding corner. For broader room lighting, consider wall lights or ceiling lights. A monitor light bar can serve a nearby desk, keeping task lighting separate from the bar’s softer atmosphere. Choose lighting based on how the room works after entertaining ends. The right light should earn its place, not compete with the display or crowd the counter.
If you’re refining the lighting around your home bar and workspace, contact Ergovanta.
Build a bar that fits your next gathering
Before changing the room, picture an ordinary evening at home. Where do people naturally gather? What would make serving easier without turning the space into a project that never ends? Let those answers guide your next move. Modern home bar setup ideas work best as starting points, not rules to follow wholesale. Choose one useful, personal detail, then see how it changes the way the room is used. A small, considered adjustment can give you a clearer direction than a complete redesign. Keep what earns its place, and leave the rest for another day.
Ergovanta can help you think through how your space supports the way you live and entertain. Reach out when you’re ready to make a considered next step.
Build a room that feels like yours, one useful choice at a time.
Frequently Asked Questions
What are the top home bar trends?
Current trends favor home bars that feel connected to their surroundings rather than like standalone displays. One useful direction among modern home bar setup ideas is to let the room’s existing character lead: echo shapes or visual rhythms from nearby artwork, furniture, or architectural details. Keep the display selective, too. A few personal objects can make the space feel considered without turning the counter into a collection shelf.
Are bar carts on trend?
Yes, bar carts remain a familiar choice for home entertaining. Their appeal can come from the cart itself: a vintage-inspired frame can add contrast to a clean-lined room, while a simple metal design can suit a more restrained interior. Treat the cart as a small piece of furniture, not just a drinks holder. Give it a clear role in the room and avoid adding decor that makes serving awkward.
Are wet bars in style?
Yes, wet bars continue to suit homes where a dedicated drink station is part of the way people gather. To make one feel current, coordinate its cabinet fronts with the room rather than giving it an unrelated style. A dining area, for example, can use a bar that shares visual details with its table or storage furniture. This helps the station feel like a planned part of the room’s design.
How much does it cost to build a home bar?
The total depends on the project’s scope and choices. Existing furniture and simple storage involve different expenses from new cabinetry, plumbing, appliances, and custom surfaces. Materials, labor, and changes to the room also affect the budget. List the features you need first, then separate essentials from optional upgrades. This makes it easier to adjust the plan without losing sight of how you’ll use the bar.
What is a dry bar?
A dry bar is a serving station without a sink. For a practical setup, protect the furniture surface with a tray, then keep napkins, coasters, and bottle-opening tools together in a drawer or container. This helps contain small spills and makes supplies easier to put away after guests leave. A dry bar can be a dedicated piece or a section of furniture already in use in the room.
What is a wet bar?
A wet bar is a drink station with a sink. Plan the work area so there’s room to set down a glass while using the basin, and store towels where they’re easy to reach. Keep preparation items grouped nearby rather than spread across the room. This makes the sink part of a usable station, not simply a feature taking up counter space.
What are the essential items for a modern home bar setup?
Beyond drink-making tools, useful basics include coasters, cocktail napkins, a bottle opener, an ice bucket, and a small dish for garnishes. Choose only what matches the drinks you expect to serve. For example, a host who often serves bottled drinks may use an opener regularly, while someone who serves chilled drinks may prioritize an ice bucket. Store these essentials together so guests can find what they need.
What are popular modern home bar design styles and layouts?
Popular styles range from restrained, symmetrical cabinetry to a collected mix of vintage and contemporary details. For a tailored look, repeat an architectural feature, such as a curved cabinet edge or framed panel, across the bar. A dining-room credenza can also support a furniture-led design. Choose a layout that leaves a clear path through the room, then let the bar’s shape and details suit its surroundings.
Disclaimer
Ergovanta publishes these guides to help people set up better workspaces. Product recommendations reflect what we sell. Specifications, prices and availability are accurate at the time of writing and may change. Nothing here is medical, ergonomic or professional advice; if you have a specific health concern about your workstation, speak to a qualified professional.
From the catalog