September 10, 2026
Professional Home Office Setup for Architects: A Guide
The workspace shapes the work. Equip it deliberately. Most architectural home studios are a compromise between high-resolution digital precision and the sprawling reality of physical blueprints. You likely spend your day toggling between a 32-inch monitor and a set of A1 drawings, only to end the night with a stiff neck and strained eyes. It is a common friction point in any home office setup for architects.
We agree that a cluttered desk is more than an aesthetic issue; it is a functional failure that slows your Revit 2026 workflow and hinders your focus. This guide teaches you how to build a workspace that handles the heavy digital load while keeping room for physical precision. You will learn how to equip a studio that balances these conflicting requirements through intentional choices. We will examine how to use monitor arms to reclaim your surface area, select lighting that stops eye fatigue during late-night deadlines, and organize the small objects that truly earn their place in a functional studio.
Key Takeaways
- Learn how to balance high-resolution digital tools with the physical space required for large-format drawings and model making.
- Equip your studio with layered lighting to eliminate eye strain during long design cycles and detailed sketching.
- Optimize your home office setup for architects to support a neutral posture, protecting your body during precision CAD and BIM tasks.
- Build a functional cable management system to reclaim your desk surface for the work that matters.
- Focus on intentional tools and materials that solve specific pain points like neck strain or cluttered surfaces.
The Dual-Nature Workspace: Balancing Digital Precision and Physical Scale
The workspace shapes the work. Equip it deliberately. A professional home office setup for architects is rarely a simple desk and chair arrangement. It is a dual-nature studio that must balance the digital precision of tools like Revit 2026 with the physical scale of architectural drawings. Most generic office furniture assumes your work exists entirely within the screen, but an architect's workflow requires unrolling a 24x36 set of prints without knocking over a monitor. When your environment is cluttered, it creates friction between your thinking and your drawing.
Building a considered space means acknowledging that your work is both microscopic and massive. You might spend four hours refining a window detail at 400% zoom before needing to cross-reference a full-size site plan. If you don't equip your space to handle both, you'll find yourself constantly shifting equipment just to make room for a pencil. An intentional layout reduces this friction, allowing you to move between digital and physical mediums without breaking your focus.
Defining the Architectural Reach Zone
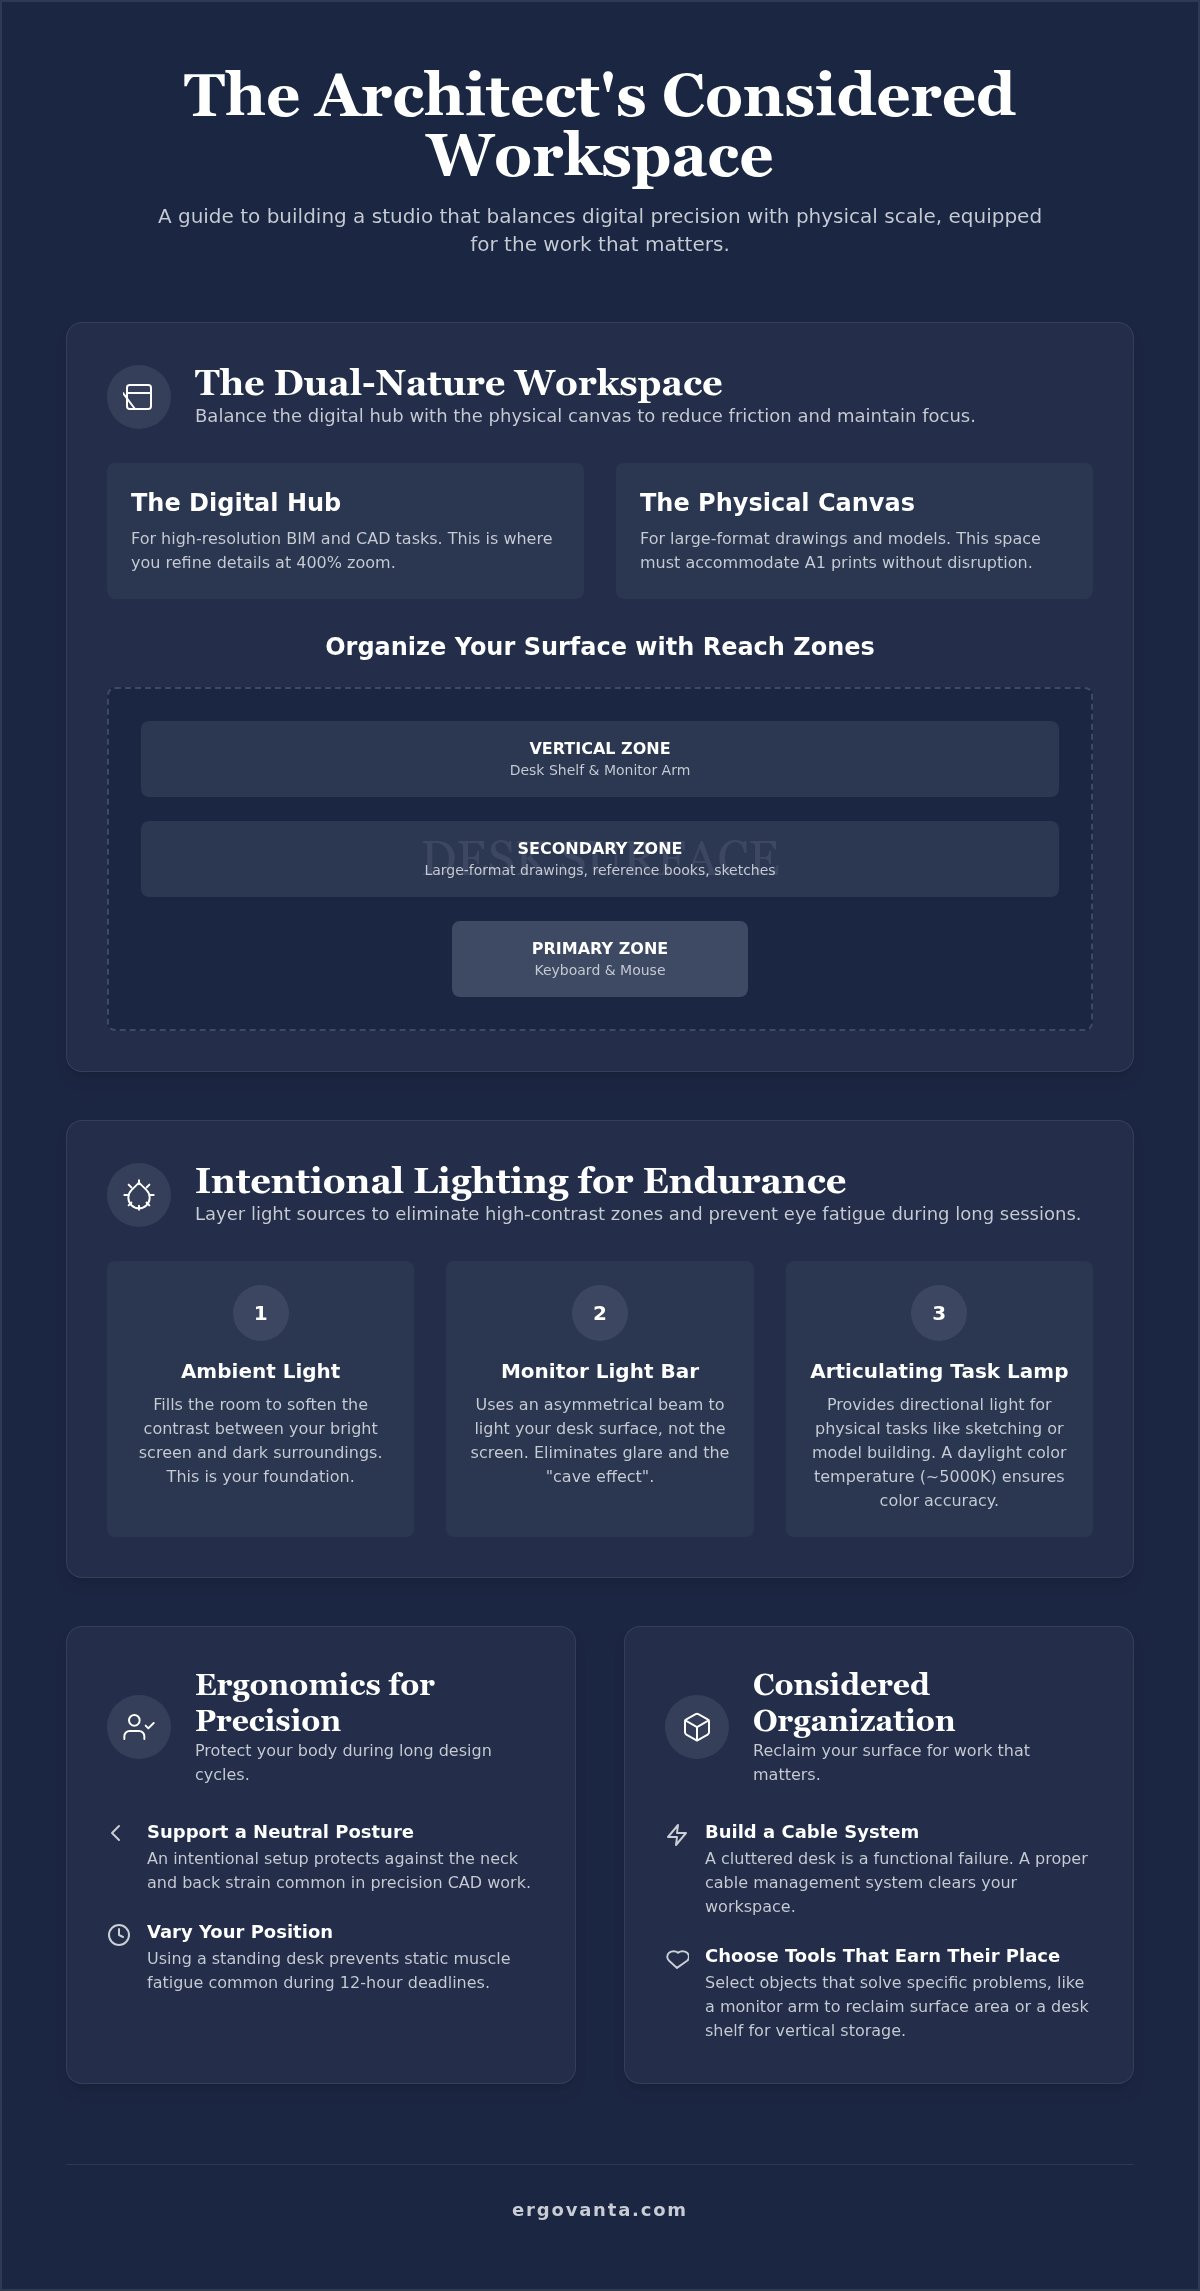
Applying office space planning principles to your home studio helps organize these conflicting needs. Divide your surface into zones based on how often you touch each tool. Place your primary digital tools, such as your keyboard and mouse, in the immediate reach zone. Keep your physical drafting space in the secondary zone to allow for quick transitions between a BIM model and a hand-sketched detail. To keep the surface clear for large-format documents, use a desk shelf. This clears vertical space for smaller items like architectural scales and pens; it ensures they are available but not in the way of your drawings.
Why Standard Office Desks Often Fail Designers
Standard desks often lack the depth required for a professional home office setup for architects. A typical 30-inch depth sounds sufficient until you add a 32-inch monitor and try to unroll a drawing set in front of it. You end up with your keyboard on top of your blueprints, which is a recipe for frustration. Intentional design means choosing a surface with enough depth and structural integrity to support heavy reference books and large displays. To vary your posture during intense design sprints, consider a standing desk. Moving between sitting and standing helps prevent the static muscle fatigue that often comes with 12-hour deadlines, keeping you sharp for the work that matters.
Lighting for Architects: Balancing Task and Ambient Needs
Lighting is often the last consideration in a home office setup for architects. You spend weeks selecting a chair or a desk; then you realize your eyes are burning by 8 PM. Lighting isn't just about visibility; it's about endurance. Layering light is the only way to prevent eye strain during those 12-hour design sprints that define the industry. Your studio needs to feel intentional at noon and midnight. This requires a balance between soft ambient light that prevents screen glare and sharp task light for physical drafting.
The goal is to eliminate high-contrast zones. When your screen is the only light source, your pupils constantly adjust between the bright display and the dark room. This causes rapid fatigue. Ambient light should fill the room without washing out your monitors. It's about creating a workspace that is made for the work, rather than one that works against you. If you're struggling to balance the light in your studio, reach out to us for advice on equipping your space.
The Role of the Monitor Light Bar
Equip your display with a monitor light bar to illuminate the desk without hitting the screen. This considered approach eliminates the 'cave effect' of a bright screen in a dark room. It focuses light exactly where you need it: on your keyboard and reference notes. Asymmetrical optical design directs light to the desk surface at an angle that prevents reflections on the monitor glass. It is a small object that earns its place by reclaiming your desk surface from bulky traditional lamps.
Adjustable Desk Lamps for Detail Work
Physical tasks like model building or sketching require a more directional approach. Use desk lamps with articulating arms to bring the light source close to the work. Choose a color temperature that mimics daylight, around 5000K, to ensure your material and finish selections remain accurate. Proper placement is vital. Place the light source opposite your dominant hand to eliminate the shadows that otherwise obscure your lines while sketching. This attention to detail is a fundamental part of ergonomic principles for workstations, ensuring that your eyes don't have to work harder than your hands do.
Ergonomics for BIM and CAD: Protecting the Body During Design
CAD work is deceptively still. You aren't hauling materials on a job site, but your body is performing thousands of micro-movements to place every Revit component and detail line. These hours add up. Without an intentional home office setup for architects, you'll finish your deadlines with a familiar tightness in your shoulders and a dull ache in your lower back. Equip your station to support a neutral posture. Your ears should stay over your shoulders, and your elbows should rest at 90 degrees. This isn't about following a clinical manual; it's about making sure the room works as hard as you do. The right tools earn their place by how you feel at 4 AM when the project is finally out the door. Focus on the physical outcome of your gear rather than just the aesthetic.
The transition from thinking to drawing should be seamless. If you're constantly adjusting your seat or squinting at a screen that is too low, you're wasting mental energy on physical discomfort. A considered workspace removes these distractions. It allows you to stay in the flow of the design process for longer periods without the looming threat of chronic fatigue. When you build a space made for the work, you're investing in your own endurance as much as your project's precision.
Monitor Arms vs. Fixed Stands
A fixed stand forces you to adapt to the monitor. A monitor arm allows the display to adapt to you. This is essential for large architectural displays that require precise placement for viewing complex site plans or 3D models. Using an arm reclaims the desk real estate you need for physical drawings, providing the dual-nature balance we discussed earlier. Elevating the screen to eye level stops the 'architect's hunch' that often occurs during heavy BIM sessions. Just ensure your desk edge is sturdy enough to handle the weight of the clamp, as large-format monitors require a secure anchor point.
Secondary Support: Foot Rests and Lumbar Pillows
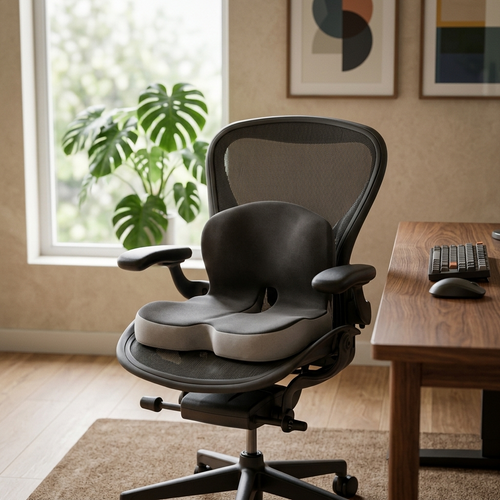
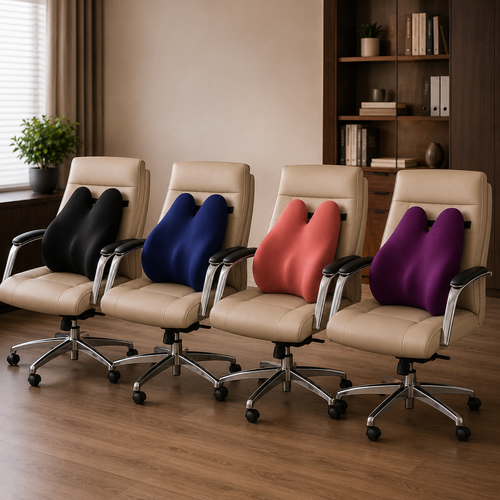
Support doesn't stop at the desk surface. Equip your chair with a lumbar pillow to maintain the natural curve of your spine. Many chairs lose their support over time; a considered pillow earns its place by filling that gap and reducing lower back pressure. Similarly, a foot rest is vital for maintaining proper circulation. It ensures your thighs remain parallel to the floor, which is especially helpful for designers who find their feet dangling or their posture collapsing. These small objects are made for the work. They extend your comfortable working hours by removing the physical friction that slows you down.
Organizing the Design Studio: Cables and Considered Objects
A cluttered workspace leads to a cluttered design process. When your desk is a graveyard of old sketches, coffee rings, and tangled cords, your focus suffers. In a home office setup for architects, the physical environment acts as an extension of the draft board. Every object on the surface should serve a purpose or get out of the way. The rooms that get used are the ones organized for the specific work being done. If you're building a space for precision, you must remove the friction that slows your hands down. This means creating a system where your tools are ready but your surface remains clear for the next big idea.
Organizing a studio isn't about hiding your life in drawers. It is about intentionality. It is about choosing the small objects that earn their place through daily utility. When your environment is considered, the transition from a digital model to a physical sketch becomes effortless. You aren't fighting your desk; you're using it as a tool for architectural precision.
Taming the Digital Tether
Wires are the friction of the digital age. A dual-monitor setup often results in a "spaghetti" of cables that collects dust and creates visual stress. To solve this, install a cable management tray under your desk to house power strips and bulky bricks. This considered step keeps the digital tether out of sight and off your feet. A clear floor removes the physical and visual clutter that distracts from the mental heavy lifting of architectural design. It allows you to move your chair freely and maintain focus on the screen rather than the mess below.
Objects that Earn Their Place
Every item on your desk should contribute to the work at hand. Use a desk mat to define your digital workspace. It provides a consistent texture for your mouse and protects the surface from model glue, ink, or sharp precision blades. Place a phone stand nearby for quick reference to site photos or client calls without having to dig through papers. These objects are made for the work. They provide order without the sterile feel of a corporate office. By equipping your desk only with what you need, you build a studio that feels personal, functional, and ready for the next deadline.
Building Your Studio: The Intentional Selection Process
The workspace shapes the work. Equip it deliberately. When finalizing a home office setup for architects, it is tempting to buy every available gadget at once. Resist that urge. Instead, start with the tools that solve your immediate physical friction: the neck strain from a low monitor, the eye fatigue from poor lighting, or the lack of surface area for your drawings. By identifying your biggest pain points first, you ensure that every addition to your studio is functional and necessary. A studio should grow with your career; it doesn't need to be finished in a single weekend.
Build your setup incrementally. Let each new piece of equipment prove its utility before you add the next. A studio is a living environment; it evolves as your workflow changes from early concept sketches to final construction documents. Ergovanta provides the workspace essentials for the people who do the work. We focus on the small objects that earn their place, ensuring your studio remains a sanctuary for design rather than a collection of unused gear. When you choose tools based on function, you create a space that supports your process rather than hindering it.
Selecting Tools for the Long Haul
Prioritize durability and function over fleeting trends or generic aesthetics. Trends fade; a solid work surface does not. Look for wood or metal options that age well with use. These materials are made for the work. They develop a patina of productivity that reflects years of creative output. This focus on longevity is central to the Ergovanta name. We combine "Ergo," from the Ancient Greek for purposeful function, with "Vanta," a word for advantage. We build tools that give you a functional edge without the distraction of unnecessary flair. Your gear should be as resilient as the structures you design.
From Setup to Studio
An intentional setup is more than just a place to put a laptop; it is a room that gets used for the deep work of creation. Your work deserves a considered environment that balances technical requirements with human comfort. To soften the technical nature of your CAD equipment and large monitors, add faux plants. They provide a visual break from the sharp lines of your equipment and drawings without requiring the maintenance of a living garden. Equip your space deliberately. When every object has been chosen with intention, your home office setup for architects becomes a studio you actually choose to come back to every morning.
Equip Your Studio for the Work Ahead
The workspace shapes the work. Equip it deliberately. You now have the framework to build a studio that balances the massive scale of physical blueprints with the digital precision of software like Revit 2026. By prioritizing ergonomics centered on how you feel and layering light to protect your vision, you transform a desk into a functional sanctuary. Every choice in your home office setup for architects should be an intentional one.
We are here for the people who do the work. Ergovanta offers nationwide US shipping on considered tools that earn their place through daily utility. Build a space that supports your focus and respects your physical endurance. Your work deserves an environment made for the specific requirements of architectural precision.
Frequently Asked Questions
What is the best desk depth for an architect's home office?
An ideal desk depth for a home office setup for architects is at least 30 inches; however, 36 inches is preferred. This extra depth allows you to place large monitors or a laptop stand at a comfortable viewing distance while leaving ample room for unrolling 24x36 drawing sets. Standard 24-inch desks often feel cramped once you add hardware. Choosing a deeper surface ensures that your physical drafting doesn't compete with your digital real estate.
How many monitors do architects really need for WFH?
Most designers find that a dual-monitor setup is the baseline for efficiency. One screen typically houses your primary BIM or CAD software while the second handles reference PDFs, email, or project specifications. If you work on complex urban planning or large-scale commercial projects, a triple monitor stand can provide the expansive digital landscape needed to keep multiple views open simultaneously. It reduces the friction of constant tab-switching during intense design sessions.
Should I choose a standing desk or a desk converter for architectural work?
A full standing desk is usually the better choice for architectural work because it provides a uniform, stable surface for both your computer and your physical drawings. Desk converters often have tiered surfaces that can make it difficult to unroll large blueprints or assemble models. A standing desk allows you to adjust your entire workspace to a comfortable height, helping you maintain a neutral posture whether you are clicking through Revit or sketching by hand.
How do I prevent screen glare on my CAD monitor?
Position your monitor perpendicular to windows to minimize direct reflections from natural light. If you work late into the night, a monitor light bar is an essential tool. These bars use an asymmetrical optical design to illuminate your desk surface without casting light directly onto the screen. This considered approach removes the glare that causes eye fatigue, allowing you to focus on fine details without the distraction of "hot spots" on your display.
What kind of lighting is best for architectural model making?
Model making requires directional, high-intensity task lighting. Use desk lamps with articulating arms that allow you to move the light source close to your materials. Look for bulbs with a color temperature around 5000K, which mimics natural daylight, to ensure your finish and material selections are accurate. Placing the lamp on the side opposite your dominant hand prevents your own shadow from obscuring the intricate cuts and glue lines of your physical models.
Do I need a special chair for long hours of drafting?
You don't necessarily need a "special" chair, but you do need a task chair that supports your body's natural alignment. A mesh office chair is often preferred for its breathability during long design sprints. The goal is to find a seat that allows your feet to rest flat on the floor while keeping your spine supported. If your current chair lacks support, adding a lumbar pillow or a seat cushion can help you maintain a neutral posture throughout the day.
How can I manage cables with a dual-monitor and laptop setup?
Managing a complex home office setup for architects requires a dedicated cable management system. Install a tray under your desk to house power strips and the bulky bricks associated with high-performance workstations. Use cable sleeves or ties to bundle wires together as they travel down your monitor arms. This keeps your floor clear and your desk surface organized, allowing you to focus on the design work rather than the "spaghetti" of digital tethers below.
What are the essential ergonomic accessories for a designer?
Start with tools that earn their place by improving how you feel. Monitor arms are vital for placing screens at eye level, while a foot rest ensures your thighs stay parallel to the floor to support circulation. A laptop stand is useful for secondary screens to prevent the "hunch" that comes from looking down. Small objects like these, combined with a foot massage board, can significantly extend your comfortable working hours during heavy project deadlines.
Disclaimer
Ergovanta publishes these guides to help people set up better workspaces. Product recommendations reflect what we sell. Specifications, prices and availability are accurate at the time of writing and may change. Nothing here is medical, ergonomic or professional advice; if you have a specific health concern about your workstation, speak to a qualified professional.
From the catalog